Introduction
Children are naturally curious about the small details they encounter every day. A leaf collected during a walk, the texture of a piece of fabric, a grain of sand, or the surface of a coin can become the starting point for a simple science investigation. A handheld digital microscope can make these everyday objects easier to examine by combining magnification with a built-in display.
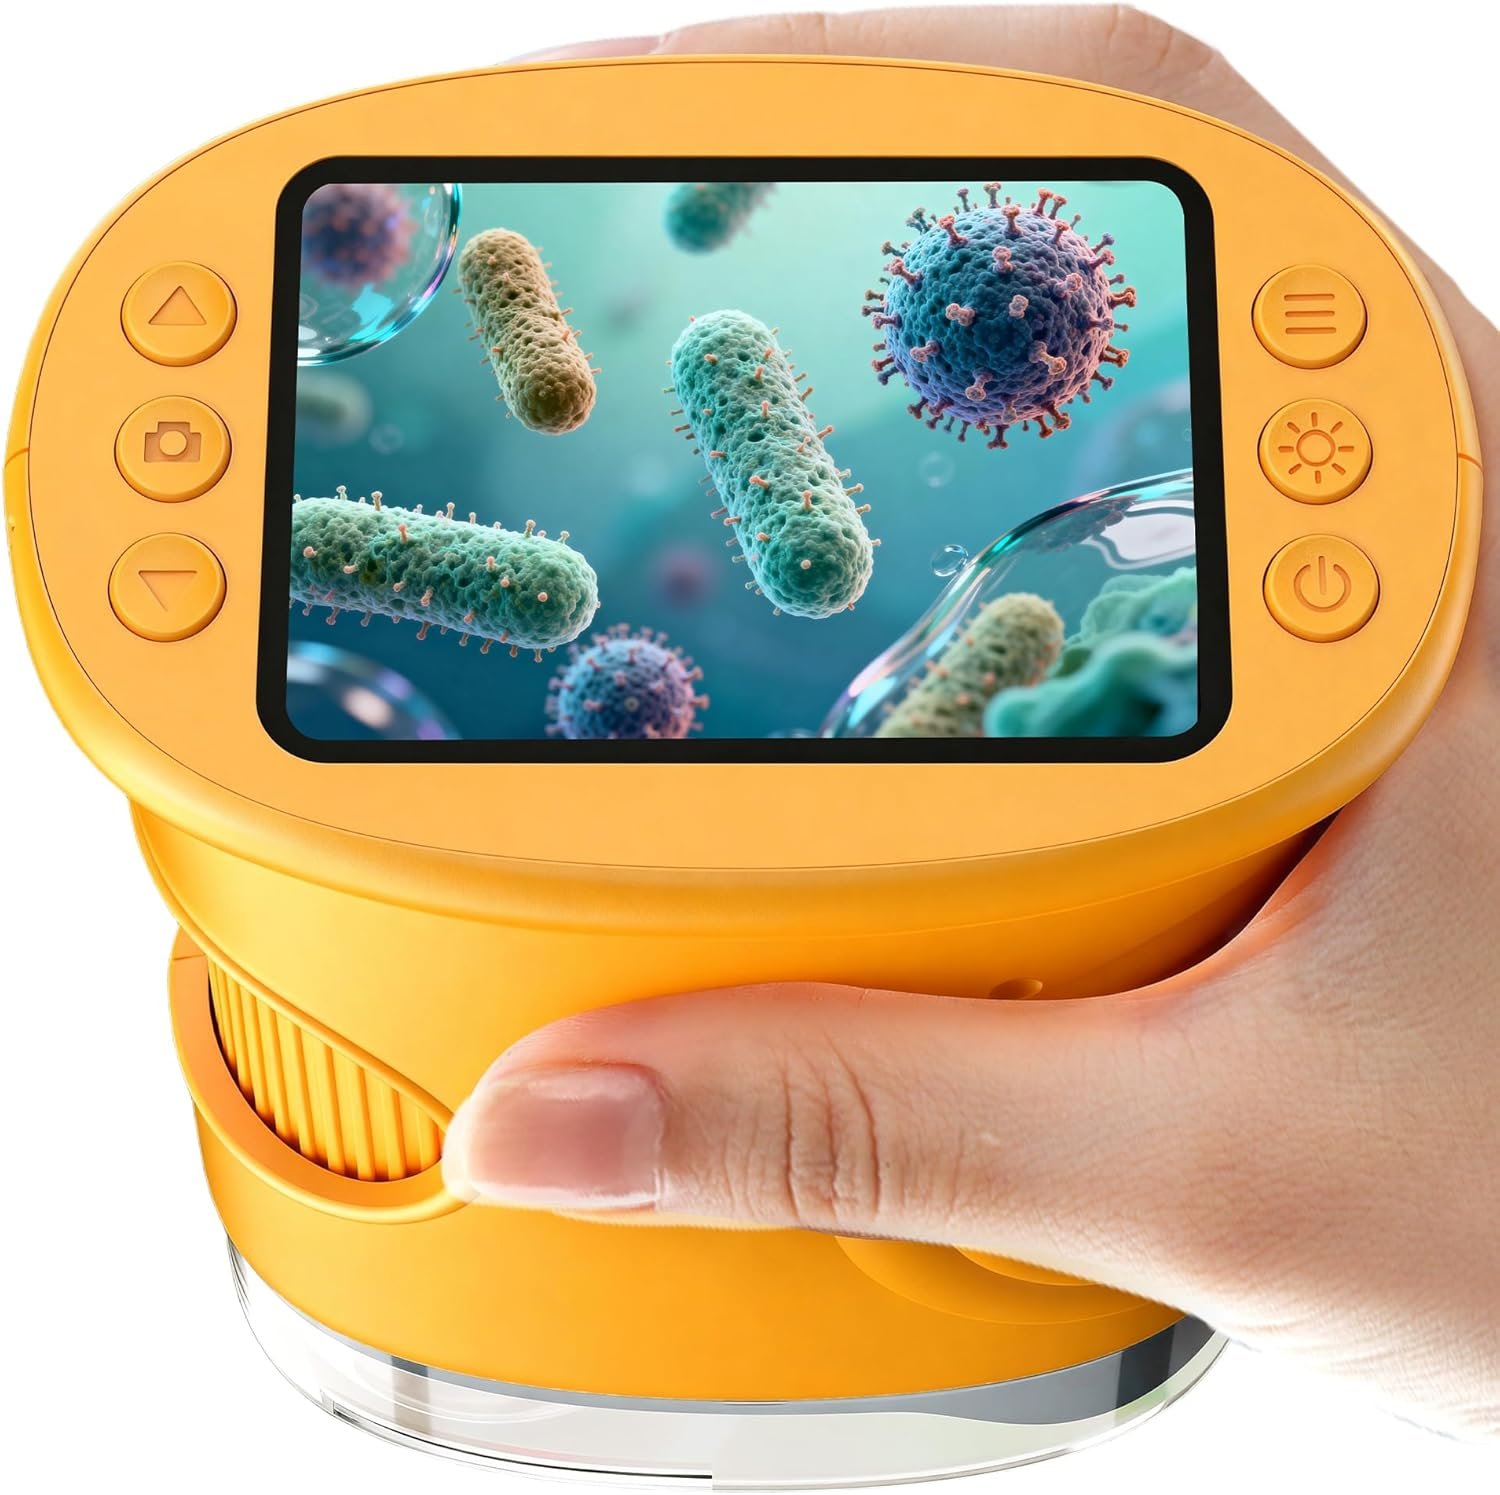
The 1000X Handheld Digital Microscope for Kids is designed as a portable educational device with a 2.0-inch IPS screen and a compact handheld format. It is presented as a STEM-oriented learning tool for children, including younger kids in the 3–6 age range and older children from 6–12. Rather than requiring a traditional microscope with separate eyepieces and complicated adjustments, a digital microscope with an integrated screen can provide a more straightforward way for children and adults to observe objects together.
The concept is particularly interesting for informal science activities. Children can investigate textures, surfaces, plant materials, household objects, and other safe specimens without needing a dedicated laboratory setup. The device can also encourage questions: Why does a leaf have veins? What makes fabric look different under magnification? Why does paper have a particular texture? What changes when an object is viewed at a much closer scale?
The product’s stated 1000X magnification is an important specification, but magnification alone does not determine what a microscope can show. Image clarity, lighting, specimen distance, stability, and the characteristics of the object being observed all affect the practical experience. For that reason, this article focuses not only on the advertised magnification but also on how a handheld digital microscope can fit into children’s educational activities.
Whether it is used at home, during homeschooling, in a classroom activity, or as part of a supervised STEM project, a pocket-sized digital microscope can turn ordinary objects into opportunities for observation and discussion.
What Is a Handheld Digital Microscope?
A handheld digital microscope is a compact electronic magnification device that uses a small camera and display rather than relying exclusively on a conventional optical eyepiece.
Instead of looking through a traditional microscope lens, the user generally views the magnified image on an integrated screen. This can make the device easier for multiple people to observe because the image is visible on the display rather than being limited to one person’s eye position.
For children, that distinction can be useful. A parent, teacher, or sibling can see the same subject at the same time and ask questions while the child is exploring.
A handheld design also changes how specimens can be examined. Traditional microscopes are usually placed on a desk, while a handheld microscope can be moved toward an object. This makes it possible to investigate objects that are too large, irregular, or inconvenient to place on a microscope stage.
The product described here combines that handheld approach with a 2.0-inch IPS screen, making the display part of the device rather than requiring a separate computer or monitor for basic observation.
Key Features
1000X Magnification
The product is marketed with up to 1000X magnification, which is a substantial figure for a compact educational microscope.
It is important to understand what this specification means in practical terms. A high magnification number does not automatically mean that every specimen will appear sharply detailed at the highest setting. Digital magnification can involve image processing or enlargement in addition to optical magnification.
For children’s activities, the more useful question is often whether the device can make small structures and surface details easier to observe.
A child does not necessarily need to reach the maximum magnification for every investigation. Lower or moderate magnification may provide a wider view and make it easier to locate the area of interest. Higher magnification can then be useful for examining smaller details.
This creates an opportunity to teach children an important scientific concept: more magnification is not always better. The appropriate level depends on what is being observed.
2.0-Inch IPS Screen
The integrated 2.0-inch IPS display allows the magnified image to be viewed directly on the device.
This can be particularly practical for shared learning. Instead of one child looking through a traditional eyepiece while everyone else waits, the image can be displayed on the screen for the user and nearby observers.
The screen also gives children a visual reference while they move the microscope over an object. This can make the exploration process more interactive.
For younger children, the screen format may also feel familiar because it resembles other small electronic devices they encounter. However, adults should still guide children in handling the device carefully and using it as an educational instrument rather than simply as another screen-based toy.
Portable Handheld Design
Portability is another notable characteristic.
A handheld microscope can be moved from one observation point to another without requiring a permanent workstation. A child might examine a leaf on a table, inspect the surface of a rock, and then investigate the fibers of a piece of fabric.
This flexibility can make spontaneous science activities easier.
The portable format can also be useful for families who do not have space for a full-size microscope. Instead of setting up a dedicated laboratory area, the device can be stored with other educational materials and brought out when needed.
Pocket-Sized Educational Concept
The product is positioned as a pocket microscope and STEM educational kit for children.
The idea behind a pocket microscope is relatively simple: make magnified observation accessible in a compact format.
This does not mean that a handheld digital microscope replaces a laboratory microscope. Traditional microscopes remain important for more advanced scientific work and for specimens requiring controlled preparation, higher optical performance, or specialized equipment.
Instead, a pocket microscope can occupy a different role. It can function as an introductory observation tool that encourages children to notice details they normally cannot see.
STEM-Oriented Learning
STEM activities generally combine science, technology, engineering, and mathematics concepts.
A digital microscope naturally introduces several of these areas. The science component comes from observing biological and physical structures. The technology component comes from using a digital camera, display, lighting system, and electronic controls.
Children can also practice basic investigation skills such as making observations, recording results, comparing specimens, and forming questions.
The device itself does not create a STEM learning experience automatically. The educational value comes largely from how parents, teachers, or caregivers structure the activity around it.
How It Can Be Used
Examining Leaves and Plant Materials
Plants provide some of the easiest specimens for children to explore.
A leaf may look smooth from a normal viewing distance, but magnification can reveal veins, surface patterns, small structures, and variations in texture.
Children can compare two different leaves and ask:
- Do they have the same surface pattern?
- Are the veins arranged differently?
- Which leaf has a smoother surface?
- Does the underside look different from the top?
- What happens to a leaf’s appearance as it dries?
These questions encourage observation rather than simply looking for a predetermined answer.
Children should collect only safe, appropriate plant materials and should avoid handling unknown plants that could cause irritation or allergic reactions.
Exploring Textures
Everyday materials can become simple microscope specimens.
Paper, cardboard, cotton fabric, denim, wool, and other materials can show different textures under magnification.
A useful activity is to compare several materials and ask the child to describe what they see. Instead of focusing only on whether something looks “good” or “bad,” encourage vocabulary such as:
- smooth
- rough
- woven
- irregular
- dense
- fibrous
- patterned
This transforms a simple observation into a language and science exercise.
Investigating Coins and Everyday Objects
Coins can be interesting because their surfaces contain small details that are difficult to appreciate at normal viewing distance.
Children can observe lettering, edges, surface texture, and manufacturing details.
Other safe household objects can also be explored. For example, children might examine the surface of a pencil, a piece of plastic, a clean button, or a small piece of cardboard.
It is helpful to choose objects that are dry, clean, and safe to handle.
Looking at Sand and Soil
Small amounts of sand or soil can provide another educational activity.
A child can compare sand from different locations or examine different types of soil. The goal does not have to be identifying every individual particle. Instead, the child can observe differences in color, shape, texture, and composition.
For younger children, this activity should be supervised to prevent accidental contact with the eyes or mouth.
Unknown environmental materials should not be handled casually, especially if they may contain chemicals, sharp particles, insects, or other hazards.
Exploring Household Fibers
Hair, threads, and fabric fibers can demonstrate how materials that appear simple to the naked eye have more complex structures.
A clean strand of thread can be compared with a piece of woven fabric. Children can observe how individual fibers contribute to the larger material.
This can also become a discussion about how textiles are made and why different fabrics have different properties.
Creating a Simple Observation Journal
One of the most useful ways to turn a digital microscope into an educational tool is to combine it with an observation journal.
After each activity, children can record:
- What object they examined.
- What they expected to see.
- What they actually observed.
- Which magnification setting they used.
- What surprised them.
- What question they still have.
For younger children, drawings can replace written observations.
This approach encourages children to think like observers rather than simply interacting with a gadget.
Using the Microscope for STEM Activities
The “Guess Before You Look” Activity
Before placing an object under the microscope, ask the child what they think it will look like.
For example:
“Do you think this piece of paper is completely smooth?”
The child can make a prediction and then examine the object.
The difference between the prediction and observation becomes the lesson.
This simple technique introduces the scientific process of forming a hypothesis and comparing it with evidence.
Comparing Two Similar Objects
Another activity involves comparing two objects that look similar at normal viewing distance.
A child could examine two types of paper or two different fabrics.
Ask the child to identify at least three similarities and three differences.
The activity develops observational skills while also demonstrating why scientific comparison requires attention to detail.
Magnification Experiments
Children can examine the same object at different magnification levels.
This demonstrates the relationship between magnification and field of view.
At lower magnification, a larger portion of the specimen may be visible. At higher magnification, the visible area can become smaller.
This is a useful lesson because it teaches children that changing magnification changes how they interact with the specimen.
Light and Shadows
If the microscope includes built-in illumination, children can also learn that lighting influences what they see.
A reflective surface may appear very different from an opaque material. Changing the angle or position of the microscope can also alter visible details.
Parents can use this opportunity to explain that scientific instruments depend not only on magnification but also on illumination and positioning.
Who It May Be Suitable For
Children Ages 3–6
For younger children, the device may be most useful as a supervised observation tool.
Children in this age group can be encouraged to explore simple objects while an adult handles setup and explains what they are seeing.
The goal should not be technical microscope training. Instead, the focus can be curiosity, vocabulary, observation, and basic cause-and-effect learning.
Activities should be short and simple because younger children may lose interest during lengthy investigations.
Children Ages 6–12
Older children may be able to take a more active role.
They can choose specimens, make predictions, record observations, compare results, and develop simple questions for further investigation.
The microscope can become part of a larger science project rather than being the entire activity.
For example, a child could create a small project called “A Closer Look at Leaves” and examine several leaf types over a week.
Parents and Families
A digital microscope can provide an opportunity for family-based learning.
Parents do not necessarily need advanced science knowledge to participate. Simple questions such as “What do you notice?” or “How is this different from the other sample?” can guide an effective activity.
The most valuable part may be the conversation surrounding the observation rather than the device itself.
Homeschooling Activities
For homeschooling families, a handheld digital microscope can be incorporated into lessons about biology, materials, nature, environmental science, or basic technology.
It can supplement books and worksheets by giving children a practical observation activity.
Classroom and Educational Settings
Teachers may also find the concept useful for small-group demonstrations or introductory science activities.
Because the device has an integrated screen, students may be able to observe the same subject without each student requiring an individual traditional microscope.
The exact usefulness in a classroom will depend on the number of students, available equipment, supervision, and the specific educational objective.
Important Things to Consider
Magnification Is Only One Part of Microscope Performance
The number “1000X” can attract attention, but it should not be treated as the only measurement of performance.
A useful microscope also depends on factors such as:
- image resolution
- camera quality
- lighting
- focus
- working distance
- stability
- specimen characteristics
- screen visibility
A high magnification level can be less useful if the image becomes difficult to focus or if movement causes the view to become unstable.
Handheld Use Requires Some Practice
A handheld microscope can be convenient, but holding it perfectly steady at high magnification can be challenging.
Small movements become more noticeable as magnification increases.
Children may initially find it easier to begin with larger objects and lower magnification before moving toward smaller details.
An adult can help position the device while the child observes the screen.
Not Every Object Is Suitable
A digital microscope is not designed for every type of specimen.
Wet, dangerous, corrosive, extremely hot, sharp, or chemically contaminated materials should not be examined unless the equipment is specifically designed for them and appropriate safety procedures are followed.
Children should also avoid attempting to examine living organisms that could bite, sting, or cause irritation.
Safe household materials and appropriately collected natural specimens are usually more suitable for introductory activities.
Screen Size Matters
The integrated screen is convenient, but a 2.0-inch display is still relatively compact.
A small screen can work well for individual observation or a parent and child working together, but a larger group may have difficulty seeing fine details.
This is worth considering when deciding how the device will be used.
Lighting Can Affect Results
Microscope lighting can significantly affect visibility.
Reflective materials may create glare, while very dark materials may make certain details harder to distinguish.
A specimen’s color, texture, transparency, and surface characteristics can all affect the resulting image.
Children Need Supervision
Although the product is designed around children’s educational use, electronic equipment should still be handled appropriately.
Younger children should use the microscope with adult supervision, particularly when collecting specimens outdoors or examining small objects.
The device should also be stored safely when it is not being used.
Avoid Looking at the Sun
A microscope or magnification device should never be pointed at the sun or used to observe direct sunlight through its optical system.
Direct solar observation can cause severe eye injury.
This is especially important when an educational device is being used outdoors.
Comparing General Microscope Categories
Handheld Digital Microscopes vs. Traditional Compound Microscopes
Traditional compound microscopes are designed around prepared slides, an optical viewing system, and a stable microscope stage.
They can provide a more conventional laboratory experience and are often better suited to structured biology work.
Handheld digital microscopes, on the other hand, are generally more flexible for examining larger everyday objects.
For young children, the handheld format can make casual exploration easier.
Digital Microscopes With Built-In Screens vs. Computer-Connected Microscopes
Some digital microscopes rely on a computer or external device to display the camera feed.
A model with an integrated screen reduces dependence on another display for basic viewing.
The trade-off is that a built-in screen has limited physical size.
The better category depends on the intended activity. A portable learning activity may favor an integrated screen, while a classroom or research environment may benefit from a larger external display.
Handheld Microscopes vs. Pocket Magnifying Glasses
A traditional magnifying glass is simple, inexpensive, and does not require batteries or electronics.
However, it generally provides a different level of magnification and does not offer a digital display.
A handheld digital microscope adds electronic imaging and screen-based viewing, making it a more technology-focused learning tool.
For children interested in STEM activities, that additional technology can become part of the educational experience.
Digital Microscopes vs. Prepared-Slide Kits
Prepared-slide kits are specifically designed for viewing samples under a conventional microscope.
They can provide access to biological specimens that are otherwise difficult to prepare.
A handheld microscope offers a different experience because children can investigate objects from their immediate environment.
The two approaches can complement each other rather than compete directly.
Tips for Getting Better Observations
Start with large, familiar objects.
A leaf, coin, piece of fabric, or sheet of paper is usually easier for a child to understand than a tiny unidentified specimen.
Make sure the object is positioned securely.
If the microscope moves continuously, the child may spend more time trying to stabilize the image than observing it.
Begin with a lower level of magnification when possible and increase magnification gradually.
Keep the lens or camera area clean and follow the manufacturer’s instructions for cleaning.
Use adequate lighting and experiment with positioning when the surface appears too dark or reflective.
Most importantly, give the child time to look.
The educational value of microscopy comes from careful observation, not from moving quickly from one object to another.
Building a Simple Microscope Learning Project
A handheld microscope can become more valuable when it is used as part of a structured project.
One example is a “Five Objects Under the Microscope” challenge.
The child chooses five safe objects, such as:
- a leaf
- a piece of fabric
- paper
- a coin
- a small piece of cardboard
For each object, the child records what it looks like normally and what changes after magnification.
The child can then choose the most interesting specimen and investigate it further.
For older children, the project can include a prediction, observation, comparison, and conclusion.
This approach turns a simple electronic device into a tool for practicing scientific thinking.
Frequently Asked Questions
What does 1000X mean on a handheld digital microscope?
1000X refers to the maximum magnification specification associated with the product. In practical use, the visible level of detail also depends on image quality, lighting, focus, specimen distance, and the characteristics of the object being examined.
Is a digital microscope suitable for young children?
A digital microscope can be used as an introductory educational tool for children, but younger children should use it with appropriate adult supervision. Activities should focus on safe specimens and simple observations.
What can children look at with a handheld microscope?
Children can explore many safe everyday objects, including leaves, paper, fabric, coins, cardboard, clean household materials, and suitable natural specimens.
Does a digital microscope replace a traditional microscope?
Not necessarily. Handheld digital microscopes and traditional microscopes serve different purposes. A traditional microscope may be more appropriate for formal laboratory work, prepared slides, and advanced biological observation, while a handheld digital microscope can be convenient for portable exploration.
Is the 2.0-inch screen useful for learning?
An integrated 2.0-inch screen allows the user to see the magnified image directly on the microscope. It can make the observation process more accessible, particularly when a child and adult are exploring an object together.
Can children use the microscope outdoors?
The portable format can make outdoor observation possible, but the device should be protected from unsuitable environmental conditions according to its manufacturer’s instructions. Children should also avoid examining unknown plants, insects, chemicals, or other potentially hazardous materials.
Can a microscope be used to examine insects?
A microscope can be used to observe suitable insects, but children should not handle unknown or potentially dangerous insects. If an insect is being examined, adult supervision and safe handling are important.
What is the easiest first object to examine?
A leaf, piece of fabric, sheet of paper, or coin can be a simple starting point. These objects are familiar, easy to handle, and provide visible differences in texture and structure.
Why can the image become difficult to see at high magnification?
Higher magnification generally narrows the viewing area and can make small movements more noticeable. Focus and lighting also become increasingly important. This is one reason children can benefit from starting with lower magnification before moving closer into a specimen.
Can a digital microscope help with STEM education?
Yes, it can support STEM activities by combining observation, technology, experimentation, comparison, and documentation. Its educational value depends largely on how the device is incorporated into a broader learning activity.
Conclusion
The 1000X Handheld Digital Microscope for Kids with a 2.0-inch IPS Screen represents a compact approach to introducing children to magnified observation and basic scientific exploration.
Its handheld format can make it possible to investigate objects that would not normally be associated with a traditional microscope. Leaves, fabrics, paper, coins, rocks, and other safe specimens can become subjects for simple investigations.
The stated 1000X magnification provides a broad range for exploring small details, while the integrated 2.0-inch display offers a direct way to view the magnified image. More importantly, the device can serve as a starting point for conversations about observation, comparison, materials, nature, and the scientific process.
For younger children, the emphasis is likely to be on curiosity and guided discovery. Older children can use the same concept for more structured STEM activities, observation journals, comparisons, and small science projects.
It is also important to keep expectations realistic. Magnification alone does not determine image quality, and a handheld digital microscope is not intended to replace every type of laboratory microscope. Stable positioning, appropriate lighting, suitable specimens, and adult supervision all contribute to a useful learning experience.
When used thoughtfully, a compact digital microscope can help children discover that familiar objects often contain details that are invisible to the naked eye. That simple change in perspective can encourage them to ask more questions, observe more carefully, and become more interested in how the world around them is made.
Leave a Reply